

It's official, we have moved our site, please visit us at
www.decoratinginsanity.blogspot.com
Please subscribe, you will make us very happy girls : )
xo,
mONICa & eLAINe
Showing posts with label Home Decor. Show all posts
Showing posts with label Home Decor. Show all posts
Thursday, December 1, 2011


Tuesday, November 29, 2011
Welcome to the transition.
Dear readers,
Thank you so much for being patient with us through a cross country move that seems to have taken 3 months to get settled in. We are well on our way to bigger and better things. We have decided to move our blog to blogger since it works better with all the google stuff we have going. We are having some technical difficulties in transferring all our old data over, but from now on we will be posting on Blogger. Please come over and visit @ decoratinginsanity@blogspot.com. Please become one of our followers so that you don't miss out on any post. We will also keep you posted as to when the transition is complete.
xo,
mONICa & eLAINe
Thank you so much for being patient with us through a cross country move that seems to have taken 3 months to get settled in. We are well on our way to bigger and better things. We have decided to move our blog to blogger since it works better with all the google stuff we have going. We are having some technical difficulties in transferring all our old data over, but from now on we will be posting on Blogger. Please come over and visit @ decoratinginsanity@blogspot.com. Please become one of our followers so that you don't miss out on any post. We will also keep you posted as to when the transition is complete.
xo,
mONICa & eLAINe
Wednesday, November 23, 2011
A Fun Exit
Well sign that is. I was at Habitat for Humanity a couple of months ago and came across some fun signs. Hard hat area and this Exit sign. The hard hat area is going in our workshop.

I originally planned to put it above my back door, but it looked so unnoticed so I decided to place it in the wall of my laundry mud room (the arrows lead to the back door so it works).
Anyhoo...something about it up there solo was just not enough, it needed some pizzazz. Nothing a light kit couldn't fix.
There is the perfect space for a snap on light kit in the back.


so I snapped it in

up on the wall and voila!

Looks great during the day too.

Totally fun and different. Now I must find more signs to add to my collage.
xo,
mONICa
Wednesday, November 9, 2011
Little Red School Desk
I would love to be showing you a picture of a completed ginormous dining table right now, however, that project turned out to be an epic fail. Painting and glazing the base was wonderful, but when we got to the top it was uncooperative. The glazing wasn't working and we kept getting a random breeze that brought in dust particles. So we decided to put it away for now and wait til the weather cooperated a bit so that we can finish it.
Moving on....
We got the cutest little desk last week and just had to finish it. It was all inspired by this beautiful paper I picked up on Sunday. Red and white and birds. LOVE IT!!
We've been priming in gray lately because we love the finish it leaves when you start distressing. This colonial red color went perfect with the paper.
Moving on....
We got the cutest little desk last week and just had to finish it. It was all inspired by this beautiful paper I picked up on Sunday. Red and white and birds. LOVE IT!!
We've been priming in gray lately because we love the finish it leaves when you start distressing. This colonial red color went perfect with the paper.

Isn't the paper super cute?


This desk will be at the Rose Bowl Flea Market on Sunday. Come visit us at space 3586. Please excuse my mess in my garage, still trying to get settled into our new place. Which reminds me, I still haven't shown you my house. Come back tomorrow to sneak a peek.
xo,
mONICa
Tuesday, November 1, 2011
Sneak Peek of Ginormous Dining Table
Oh boy. We have been working on this ginormous 12 seater Hollywood Regency style Dining Table for days, but it seems like weeks. Both of us are so sore from bending and detailing, etc. The good new is that we should have it completeted in another day or so. We wanted to give you a sneak peek, can't wait to show you the end result.
xo,
mONICa & eLAINe

xo,
mONICa & eLAINe
Tuesday, October 25, 2011
Cute Blue Dresser
Well, I had originally planned for this post to be long and drawn out, but you wouldn't believe what a day I've had. I don't know if I told you, but I've been having water heater issues. We are on our third water heater and I haven't had hot water for a week and a half. Well today, the gas company decided to pay us a visit to us for the third time to inspect our heater and well, they turned off all our gas all together saying it was unsafe. Meaning I have no hot water, stove, dryer, heat, etc. So needless to say, I'm really hoping this is fixed by tomorrow because I can't live like this, but am glad that we are safe.
Anyway, what I was planning to show you was my kids dresser. I got this baby for FREE. Although, not in the best of condition, it was workable and for 3 year old twins definitely suitable. I decided to paint it in a turquoise color and paint the hardware white, it was missing two handles so I patched up the holes and changed them with some that I already had. I think its cute and fun. Please excuse the temporary shower curtain I hung as a window covering in their room.
Anyway, what I was planning to show you was my kids dresser. I got this baby for FREE. Although, not in the best of condition, it was workable and for 3 year old twins definitely suitable. I decided to paint it in a turquoise color and paint the hardware white, it was missing two handles so I patched up the holes and changed them with some that I already had. I think its cute and fun. Please excuse the temporary shower curtain I hung as a window covering in their room.
The paint is Calypso by Sherwin Williams

The stencil is Martha Stewart @ Michaels

I also lined the drawers with some fun paper


I can't wait til I'm finished with their beds, artwork, window coverings, etc.
xo,
mONICa
Tuesday, October 11, 2011
Mid Century Madness
I always feel sorry for those Danish modern dressers from the midcentury that got a little too much love. It's like they are tossed out as rejects who didn't make it into a million dollar collection. I mean, I get it, it's all about those mint midcentury show pieces, but what do you do when your show piece didn't win the show down.
Paint it of course!! In order to keep the integrity of this piece we decided to leave the drawer fronts alone, imperfections and all. I love the masculinity of this dresser and the clean modern lines. Unfortunately once again, I didn't snap any before pictures, but I hope you like how it turned out.
Paint it of course!! In order to keep the integrity of this piece we decided to leave the drawer fronts alone, imperfections and all. I love the masculinity of this dresser and the clean modern lines. Unfortunately once again, I didn't snap any before pictures, but I hope you like how it turned out.

I used a fern green color to compliment the walnut tones.

If you look very close you can see where there is imperfection, but that gives it all the more character, and to tell the truth it was in pretty good shape when we got it.

Can anyone say Mad Men.
xo,
mONICa
Tuesday, October 4, 2011
The Thrill of the Hunt
We found a couple of worthy finds for our weeks projects. Well, some for us and some for our store. We hit the PCC flea market Sunday where I got my great western boots. We also hit our local thrift store where a few weeks ago I got the dress I'm wearing. Yesterday we decided to go a few city's over to a thrift store we hadn't been to in years where Monica found some great pieces for her new house. Ahhh... the thrill of the hunt!!
Of course all of this is hard work, but let it never be said that we don't stop to smell the roses or shall I say the hops. In our exhaustion of loading three pieces of furniture into our small suv , (thank goodness for bungies! )we stopped at a great watering hole restaurant called Congregation Ale House to cool off and grab a beer. Great place and the menu looked fantastic too…we'll try next time.
Here is one of the things we are working on this week. We'll show you the finished project in a couple of days.


Of course all of this is hard work, but let it never be said that we don't stop to smell the roses or shall I say the hops. In our exhaustion of loading three pieces of furniture into our small suv , (thank goodness for bungies! )we stopped at a great watering hole restaurant called Congregation Ale House to cool off and grab a beer. Great place and the menu looked fantastic too…we'll try next time.

Here is one of the things we are working on this week. We'll show you the finished project in a couple of days.

xo,
eLAINe
Monday, September 26, 2011
My $3.00 Chalk Paint Project
So I was reading this great article by Sherry at No Minimalist Here last week about making your own chalk paint. I thought it would be fun to give it a try, so I looked for a victim in my garage. This cute little writing desk has been asking me for a makeover for a while and I've been ignoring her request. Well, last week Elaine was on vacation and I was having a little bit of a hard time moving furniture around on my own, so I had to stick with items that were light weight. So she finally got some attention.

I guess the reason I had been ignoring it for so long was that I couldn't exactly figure out what to do with it. I originally had planned to keep it two-tone, but instead it kind of evolved into multi-tone.
I used the Plaster of Paris Method, which was $6.00 at Michael's and $3.00 with my 50% off coupon. I took some celery green paint (left over from Elaine's living room) and some true blue acrylic and mixed it to make a greenish/blue color.

The paint gets thicker the more plaster of paris that you use. My first layer was a yellow mixed in a little thicker. This way I avoided priming. Then I used another layer mixed a little thinner with the green-blue that I made. The third layer was dark stain. I then went back through and highlighted some of the colors.


I love the paper on the inside of the drawers

All in all I'm pretty sold on this plaster of paris paint idea, especially on these shabby/ paris apartment chic projects.
What kinds of paint techniques do you love?
xo,
mONICa
Wednesday, September 21, 2011
It's All About Bright Dressers
So last week was such a boring week. We pretty much worked on cleaning out the garage, shopping, and getting organized. Plus in between I had a few Real Estate meetings. For some reason I was up to a little creativity this weekend so we stayed home and worked (even with the kiddies around). It became the Bright Dresser Weekend. Dresser #1 we like to call The Meadows of Provence Dresser. Decided to go with a bright yellow and a dark stain. It so reminds me of a wheat field or something, hence the name.


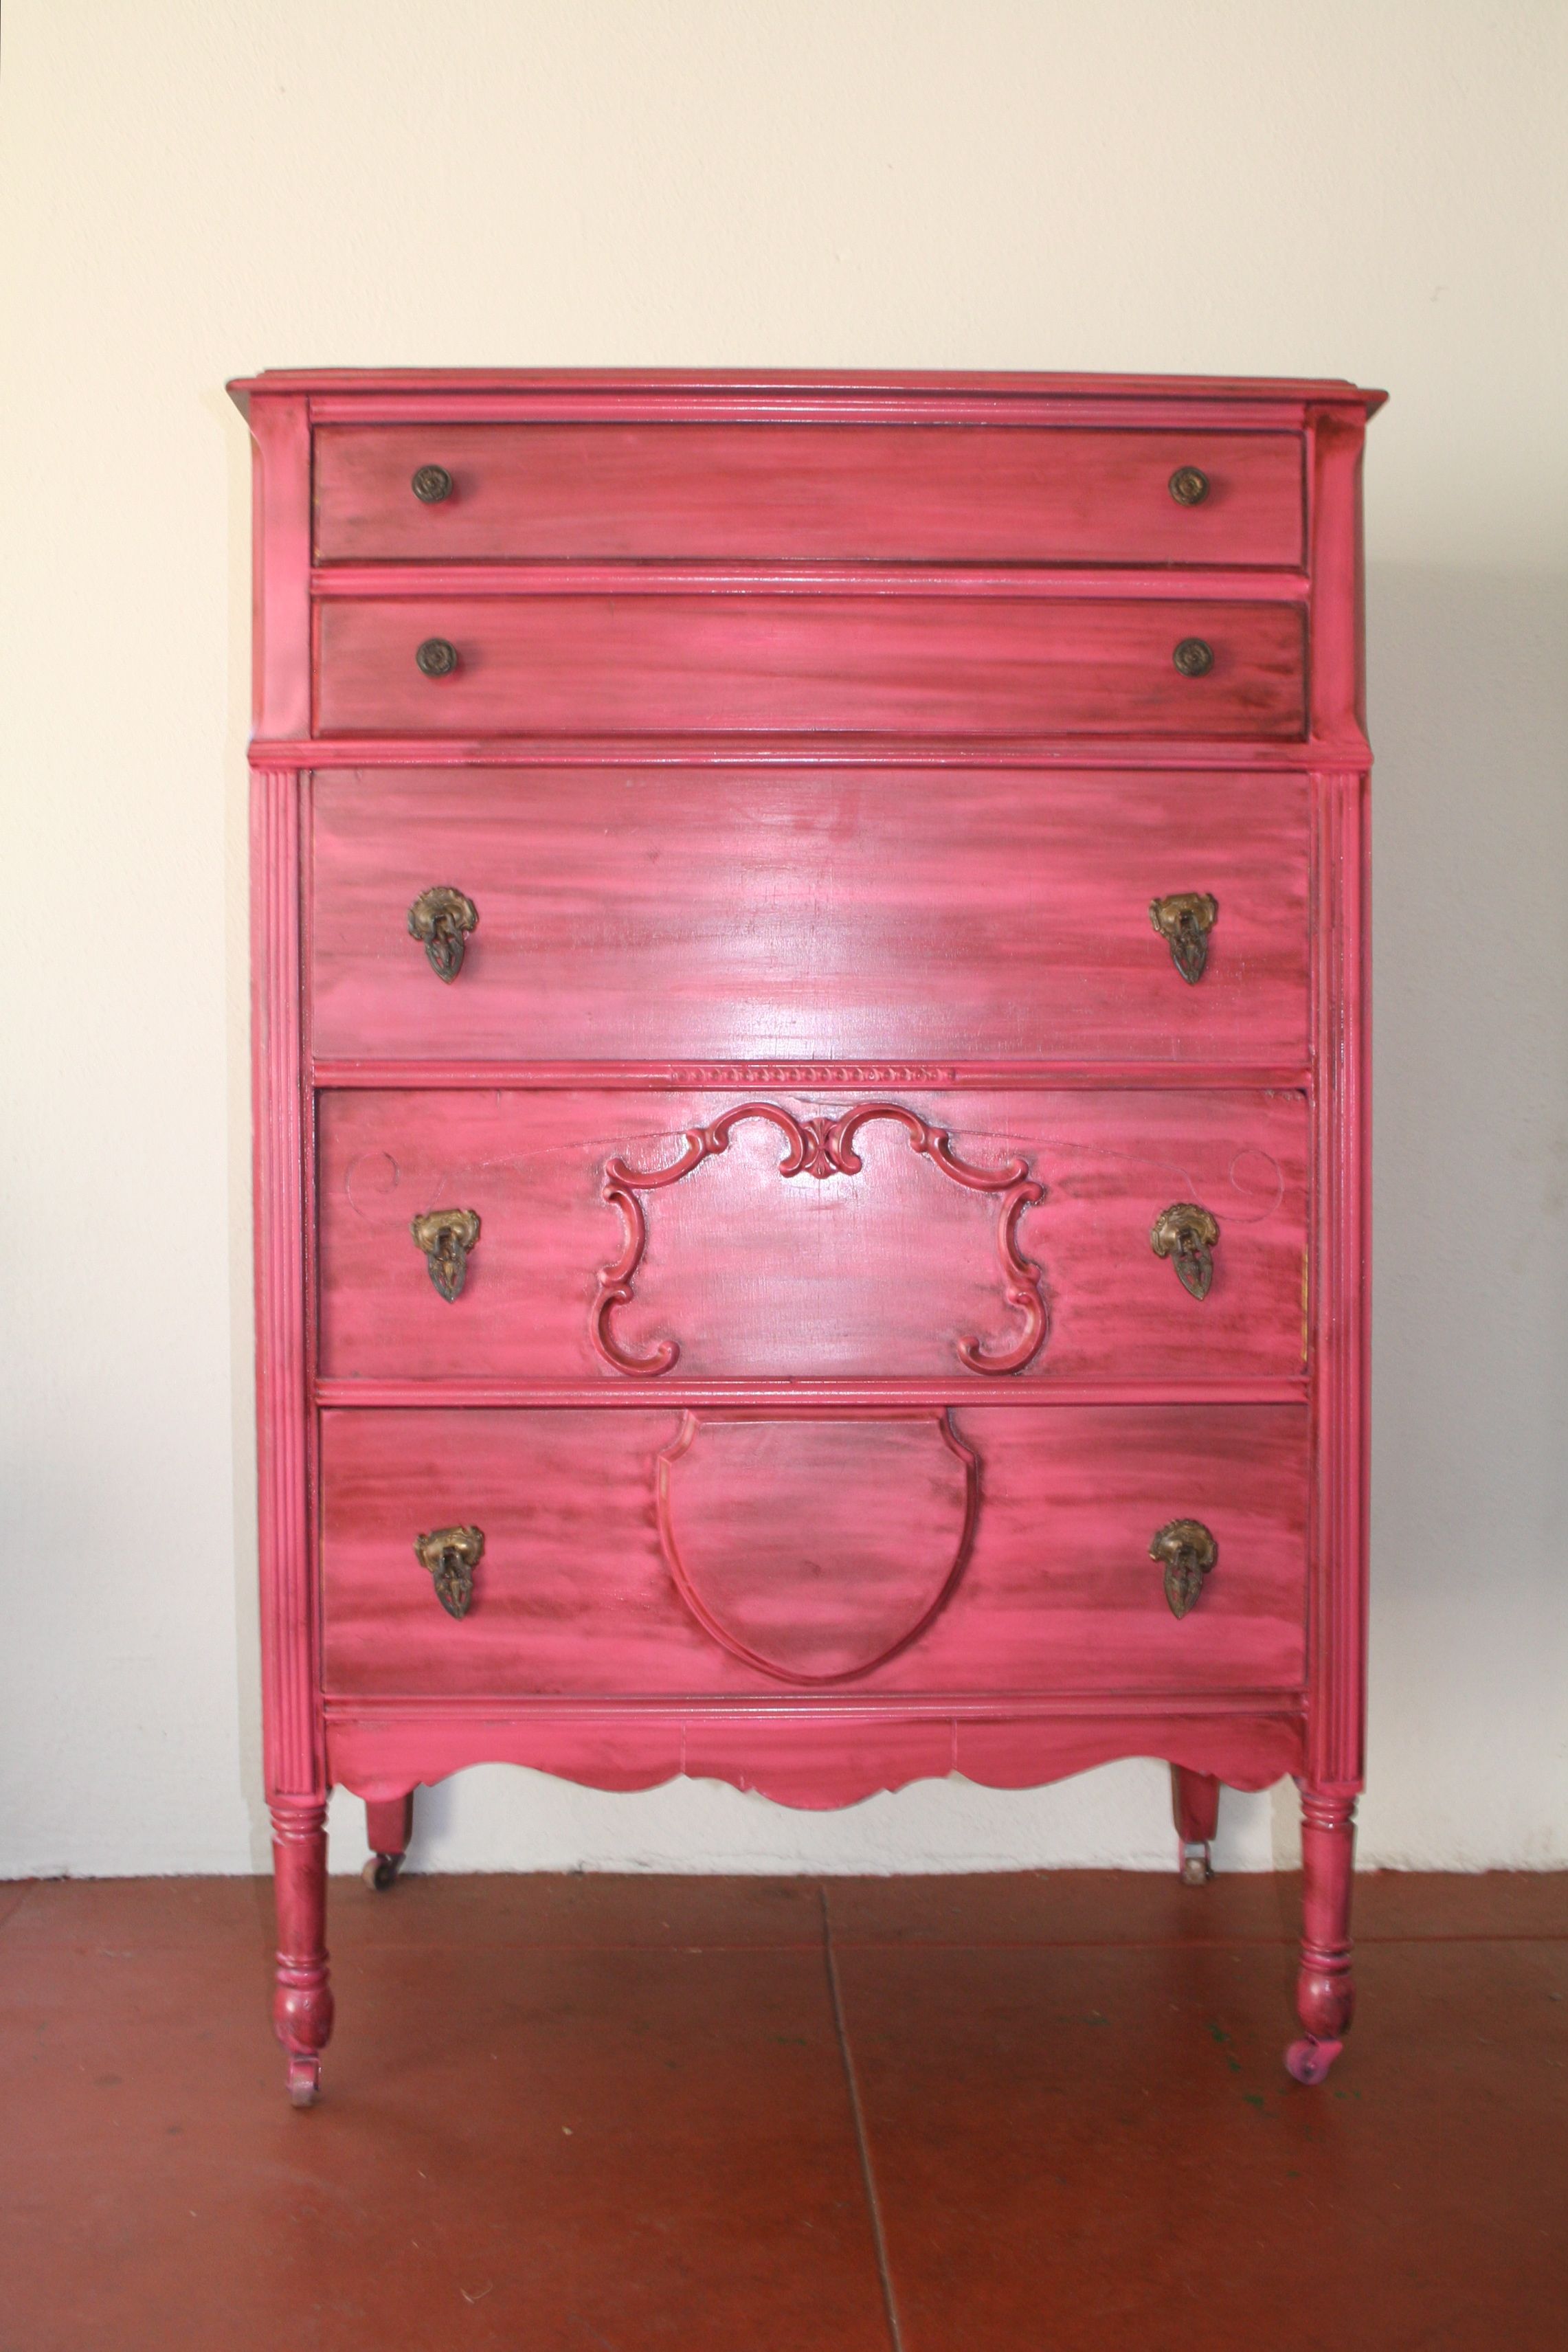
Don't forget to let us know if a bright dresser is in your future. Or check out our For Sale Section for others available.
xo,
mONICa
Wednesday, September 14, 2011
Benches Are So Cute!
This morning as I was taking a walk in blog land, I noticed there were a bunch of really cute benches. The front porch, the end of the bed, in my breakfast nook, I WANT ALL OF THEM!!!

Primative and Proper


Tuesday, September 13, 2011
The Hollywood Starlett Tables
No we haven't fallen off the face of the planet although you may think we have. I realized that moving out-of-state and being in a state of limbo do not go hand in hand. Let me explain. So I'm living with Elaine right now because our place will not be ready until mid October (Can't wait til everyone see's it). We had a moving fiasco and our movers were a month late so I haven't had a whole lot of stuff (including a computer). Elaine and I have been fighting over one computer for a month now. Well the movers finally came, so I officially have a computer. Don't worry, not a whole lot of stuff has gone on this past week anyway, because it was over 100 degrees all last week in Southern California and surprisingly humid. Paint and humidity do not work well together, so Elaine and I decided to shop instead. Oh!! and get a well deserved pedicure on Friday. Now we've got a whole lot of pieces ready for our magic.
Here is one that we did a week before the humidity. They are vintage side tables we picked up from a couple who we bought a dresser from, and they belonged to his grandmother. The finish was a little rough so we decided to paint them. Elaine had this awesome vintage Hollywood Regency fabric that needed a home, so we decoupaged it onto the drawers. I love how the two-tone paint came out. I think Elaine did a fab job on the decoupage. The birds are super cute.
Here is one that we did a week before the humidity. They are vintage side tables we picked up from a couple who we bought a dresser from, and they belonged to his grandmother. The finish was a little rough so we decided to paint them. Elaine had this awesome vintage Hollywood Regency fabric that needed a home, so we decoupaged it onto the drawers. I love how the two-tone paint came out. I think Elaine did a fab job on the decoupage. The birds are super cute.

Grey and cream is a wonderful combination


xo,
mONICa
Tuesday, August 23, 2011
Parisian Nights
How was your weekend? One of our weekend projects was these Parisian nights side tables, nightstands, end tables, whatever. The color turned out amazing. We really didn't have a direction with these pieces to begin with, they just kind of evolved. We started with a lagoon blue spray paint, the next layer was a mixed a custom color with glaze. We used some stain to distress it, then another custom coat. All in all I think it has 4 different coats of paint, but I think the finished product is amazing. Here is a shot of what these babies looked like before:


And for once we kept the original hardware as is, because we thought they looked pretty good just the way they were.

Did you have any fun projects this weekend?
xo,
mONICa & eLAINe
Wednesday, August 17, 2011
Dress Up A Corner Window With A Wood Cornice Valance
Ok so I've finished my stencil wall and now I am on to dressing up the windows. I've decided to make a corner cornice to frame the window. This is how I did it .
TOOLS NEEDED- Saw-Long level-Measuring tape- Drill- Hammer-Putty &putty knife-Sandpaper-L-brackets. ( I used two types, wider ones for the structure of the cornice and a narrower type for wall backers)Primer-Paint-Nails-Screws.
(some tools needed are shown below)

Now for the construction.
First I measured the window length and depth I wanted on each wall. Next, I purchased inexpensive pine wood boards, you will need one board for the face/front and one for the top of each cornice. I used a 1x8 for the face and a 1x6 for the top and for the sides I used left over 1x8's. so when you purchase your boards don't forget you need extra for two side boards, each cornice has one side board.
HELPFUL HINT-( although it says its a 1x6 or a 1x8 in actuality it really measures a 1/2 inch shorter. so don't get worried if you come home and measure…I don't know why they do that but it's important to know when you are doing a project that needs cutting etc, I just thought i'd let you know about this. I learned about that the hard way ;()
I used pine wood that has knots.I puttied the knots so that they don't show through after painting. I then sanded the dry putty areas and the rough cut edges. I next primed and painted the boards. I did this step after the cornice was assembled but before I put it up on my wall, however you can do this before assembling if you like.
Now onto the work
Ok, my cornice is cornered so, my top 1x6 board on the biggest window measured all the way from the one side of one window to the wall at the other end, however since the face part of the board was going to bud up to the cornered of the other/second cornice it would need to be shorter than the top board that go's all the way to the wall. This measurement size is the width of the top board of the second cornice, just subtract that width from the length you made for your top board on your first cornice and cut your face board length that size. (-see picture # 4)
Ok now you should have two boards the top longer board and the slightly shorter face board.
Now you need to connect the top board to the face board. I used L- brackets to do this. I made pilot holes first with my drill then I screwed in the backers to connected the top board to the bottom. I connected the side boards the same way. I also put small nails along the edges of the cornice where the two board connect in order to add strength. ( keep in mind that you will also be using L-brackets to connect the entire cornice to the wall. I placed these brackets on each side of the window because there are wood studs in the wall there to screw your brackets to. This way your cornice will be very secure. Don't screw any other bracket in this spot of your cornice, reserve it for your wall brackets.


Next measure out the cornice of your other /second window. This cornice top and face will butt onto your first cornice and not to the wall corner, so once again the top board and the face board will be different lengths. Proceed as with the first cornice.

Now that both cornice's are made you can connect the two cornice's together by bracing only the two face boards of each cornice's where they meet with an L-brace on the inside unseen part of the corner.
Next you will screw the wall braces to the wall at whatever height you want your cornices to be. I suggest placing one bracket on each side of the window. You can add more if your window is extra wide. Make sure you are screwing into wood. Usually each side of the window has wood studs there.(if you're not screwing into wood use the appropriate anchors for strength. When placing your braces use a long level to make sure all are level to each other.
Now that your braces are on the wall have someone help you lift the cornice up and place it on top of the wall brackets. Next screw in the cornice to the brackets from underneath the cornice.
Thats it! and it's even simpler when doing straight windows that are not cornered.
This room is a work in progress. I will be sharing the completed window treatment once the curtains go up...I have't decide how I want to go with that yet.
 xo,
xo,
eLAINe
TOOLS NEEDED- Saw-Long level-Measuring tape- Drill- Hammer-Putty &putty knife-Sandpaper-L-brackets. ( I used two types, wider ones for the structure of the cornice and a narrower type for wall backers)Primer-Paint-Nails-Screws.
(some tools needed are shown below)

Now for the construction.
First I measured the window length and depth I wanted on each wall. Next, I purchased inexpensive pine wood boards, you will need one board for the face/front and one for the top of each cornice. I used a 1x8 for the face and a 1x6 for the top and for the sides I used left over 1x8's. so when you purchase your boards don't forget you need extra for two side boards, each cornice has one side board.
HELPFUL HINT-( although it says its a 1x6 or a 1x8 in actuality it really measures a 1/2 inch shorter. so don't get worried if you come home and measure…I don't know why they do that but it's important to know when you are doing a project that needs cutting etc, I just thought i'd let you know about this. I learned about that the hard way ;()
I used pine wood that has knots.I puttied the knots so that they don't show through after painting. I then sanded the dry putty areas and the rough cut edges. I next primed and painted the boards. I did this step after the cornice was assembled but before I put it up on my wall, however you can do this before assembling if you like.
Now onto the work
Ok, my cornice is cornered so, my top 1x6 board on the biggest window measured all the way from the one side of one window to the wall at the other end, however since the face part of the board was going to bud up to the cornered of the other/second cornice it would need to be shorter than the top board that go's all the way to the wall. This measurement size is the width of the top board of the second cornice, just subtract that width from the length you made for your top board on your first cornice and cut your face board length that size. (-see picture # 4)
Ok now you should have two boards the top longer board and the slightly shorter face board.
Now you need to connect the top board to the face board. I used L- brackets to do this. I made pilot holes first with my drill then I screwed in the backers to connected the top board to the bottom. I connected the side boards the same way. I also put small nails along the edges of the cornice where the two board connect in order to add strength. ( keep in mind that you will also be using L-brackets to connect the entire cornice to the wall. I placed these brackets on each side of the window because there are wood studs in the wall there to screw your brackets to. This way your cornice will be very secure. Don't screw any other bracket in this spot of your cornice, reserve it for your wall brackets.


Next measure out the cornice of your other /second window. This cornice top and face will butt onto your first cornice and not to the wall corner, so once again the top board and the face board will be different lengths. Proceed as with the first cornice.

Now that both cornice's are made you can connect the two cornice's together by bracing only the two face boards of each cornice's where they meet with an L-brace on the inside unseen part of the corner.
Next you will screw the wall braces to the wall at whatever height you want your cornices to be. I suggest placing one bracket on each side of the window. You can add more if your window is extra wide. Make sure you are screwing into wood. Usually each side of the window has wood studs there.(if you're not screwing into wood use the appropriate anchors for strength. When placing your braces use a long level to make sure all are level to each other.
Now that your braces are on the wall have someone help you lift the cornice up and place it on top of the wall brackets. Next screw in the cornice to the brackets from underneath the cornice.
Thats it! and it's even simpler when doing straight windows that are not cornered.
This room is a work in progress. I will be sharing the completed window treatment once the curtains go up...I have't decide how I want to go with that yet.
 xo,
xo,eLAINe
Tuesday, August 16, 2011
Jazz up a wall with a Geometric Stencil
tRenDy tueSDayS
I totally love all the wallpaper designs hitting the racks these days, but who wants to wallpaper? I know I don't. I really needed something to add some pizzazz to my fireplace wall, so instead of just painting it a different color I decided to do a graphic mid-century stencil to give it the illusion of high-end wallpaper and I didn't even have to change the base color. I left the wall the same celery green color and did an el cheapo, el matcho accent color with the same paint I used on the trim and mantle. I needed to do this baby quick so I committed the stencilers unforgivable sin, yep, I used a roller! I know that isn't the "proper" way to do it, but I am not always proper! Anyhow, I love it! It gave the room such a cool vibe! I totally recommend you give it a try if you need to add something special to a room. It is a bit challenging but if you have any patience at all you'll do just fine.
What you will need is: Blue tape,light hold spray adhesive... I purchased mine at a nearby fabric store for $6 bucks. You will also need a long level, and of course your paint and stencil brush.If you want a translucent look you will need to thin your paint with a glaze medium. I used an even part paint & glaze. Also if you need longer working time the glaze keeps the paint wet longer. I have also heard of some people using water to thin a water base paint but I have never done it that way...YET. Ok now to the work!
First off decide where is the best area to place your first stencil. Some people like to start dead center and work out and away, but for my project, I simply started in a top corner and worked down and to the right. Now that you've figured out your starting point, you can begin.
1 -spray the back of your stencil with the spray adhesive.
This stencil came from Royal Design Studio. I learned about it from Mandi at Vintage Revivals and if you visit her page you can get a coupon code to get yourself a little discount.
xo,
eLAINe


I totally love all the wallpaper designs hitting the racks these days, but who wants to wallpaper? I know I don't. I really needed something to add some pizzazz to my fireplace wall, so instead of just painting it a different color I decided to do a graphic mid-century stencil to give it the illusion of high-end wallpaper and I didn't even have to change the base color. I left the wall the same celery green color and did an el cheapo, el matcho accent color with the same paint I used on the trim and mantle. I needed to do this baby quick so I committed the stencilers unforgivable sin, yep, I used a roller! I know that isn't the "proper" way to do it, but I am not always proper! Anyhow, I love it! It gave the room such a cool vibe! I totally recommend you give it a try if you need to add something special to a room. It is a bit challenging but if you have any patience at all you'll do just fine.
What you will need is: Blue tape,light hold spray adhesive... I purchased mine at a nearby fabric store for $6 bucks. You will also need a long level, and of course your paint and stencil brush.If you want a translucent look you will need to thin your paint with a glaze medium. I used an even part paint & glaze. Also if you need longer working time the glaze keeps the paint wet longer. I have also heard of some people using water to thin a water base paint but I have never done it that way...YET. Ok now to the work!
First off decide where is the best area to place your first stencil. Some people like to start dead center and work out and away, but for my project, I simply started in a top corner and worked down and to the right. Now that you've figured out your starting point, you can begin.
1 -spray the back of your stencil with the spray adhesive.
2- place the stencil on the starting point use your level to make sure your stencil is straight. Now tape the corner edges to the wall and gently push the stencil to the wall (this will help to keep the paint from bleeding in between the cut outs). 
4 -Allow stencil to dry about 5 -15min or more depending on the weather and if and how much glaze you used. Carefully remove stencil from wall without smearing the paint. Now if the paint on wall and on the stencil is dry , move on to the next area always using your level to make sure it is straight. Stenciling around an opening like a window can be a bit challenging so you have to be patient, this can be done a lot easier if you cut the stencil to work around the opening...just make sure you've completed all the wall areas that you need the stencil in one whole piece before cutting up your stencil. I am way too cheap to cut up a stencil that I plan on using again and again so I very carefully bent the stencil to get around my window.

Helpful Hint-have wet paper towels around just in case you have to wipe off an area that you did an oops! Works like a charm. Ok, that's it! Have fun!!! this room is a work in progress. I am now working on window treatments and cleverly hiding ugly tv cords... can't wait to show you the finished product!


This stencil came from Royal Design Studio. I learned about it from Mandi at Vintage Revivals and if you visit her page you can get a coupon code to get yourself a little discount.
xo,
eLAINe
Subscribe to:
Posts (Atom)

 Posts
Posts


